How to use a wrist blood pressure machine
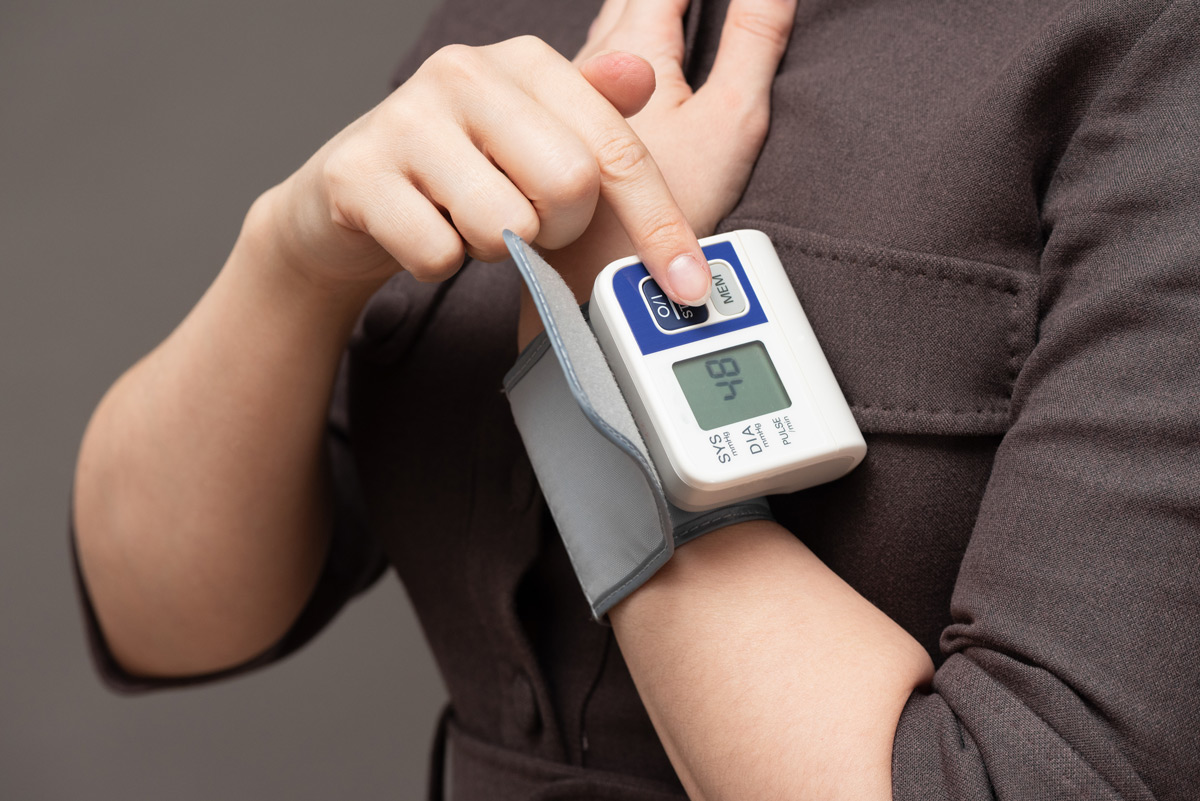
Person using a wrist blood pressure monitor by pressing the start button on the device wrapped around their wrist clevelandclinic
Monitoring your blood pressure at home has become increasingly important for managing cardiovascular health. Wrist blood pressure machines offer a convenient, portable solution for regular monitoring, especially when traditional upper arm cuffs aren’t suitable. While these devices require proper technique to ensure accuracy, they can be valuable tools when used correctly.
Visit Smile Pharmacy for expert guidance on blood pressure monitoring and medication management services.
Understanding Wrist Blood Pressure Monitors
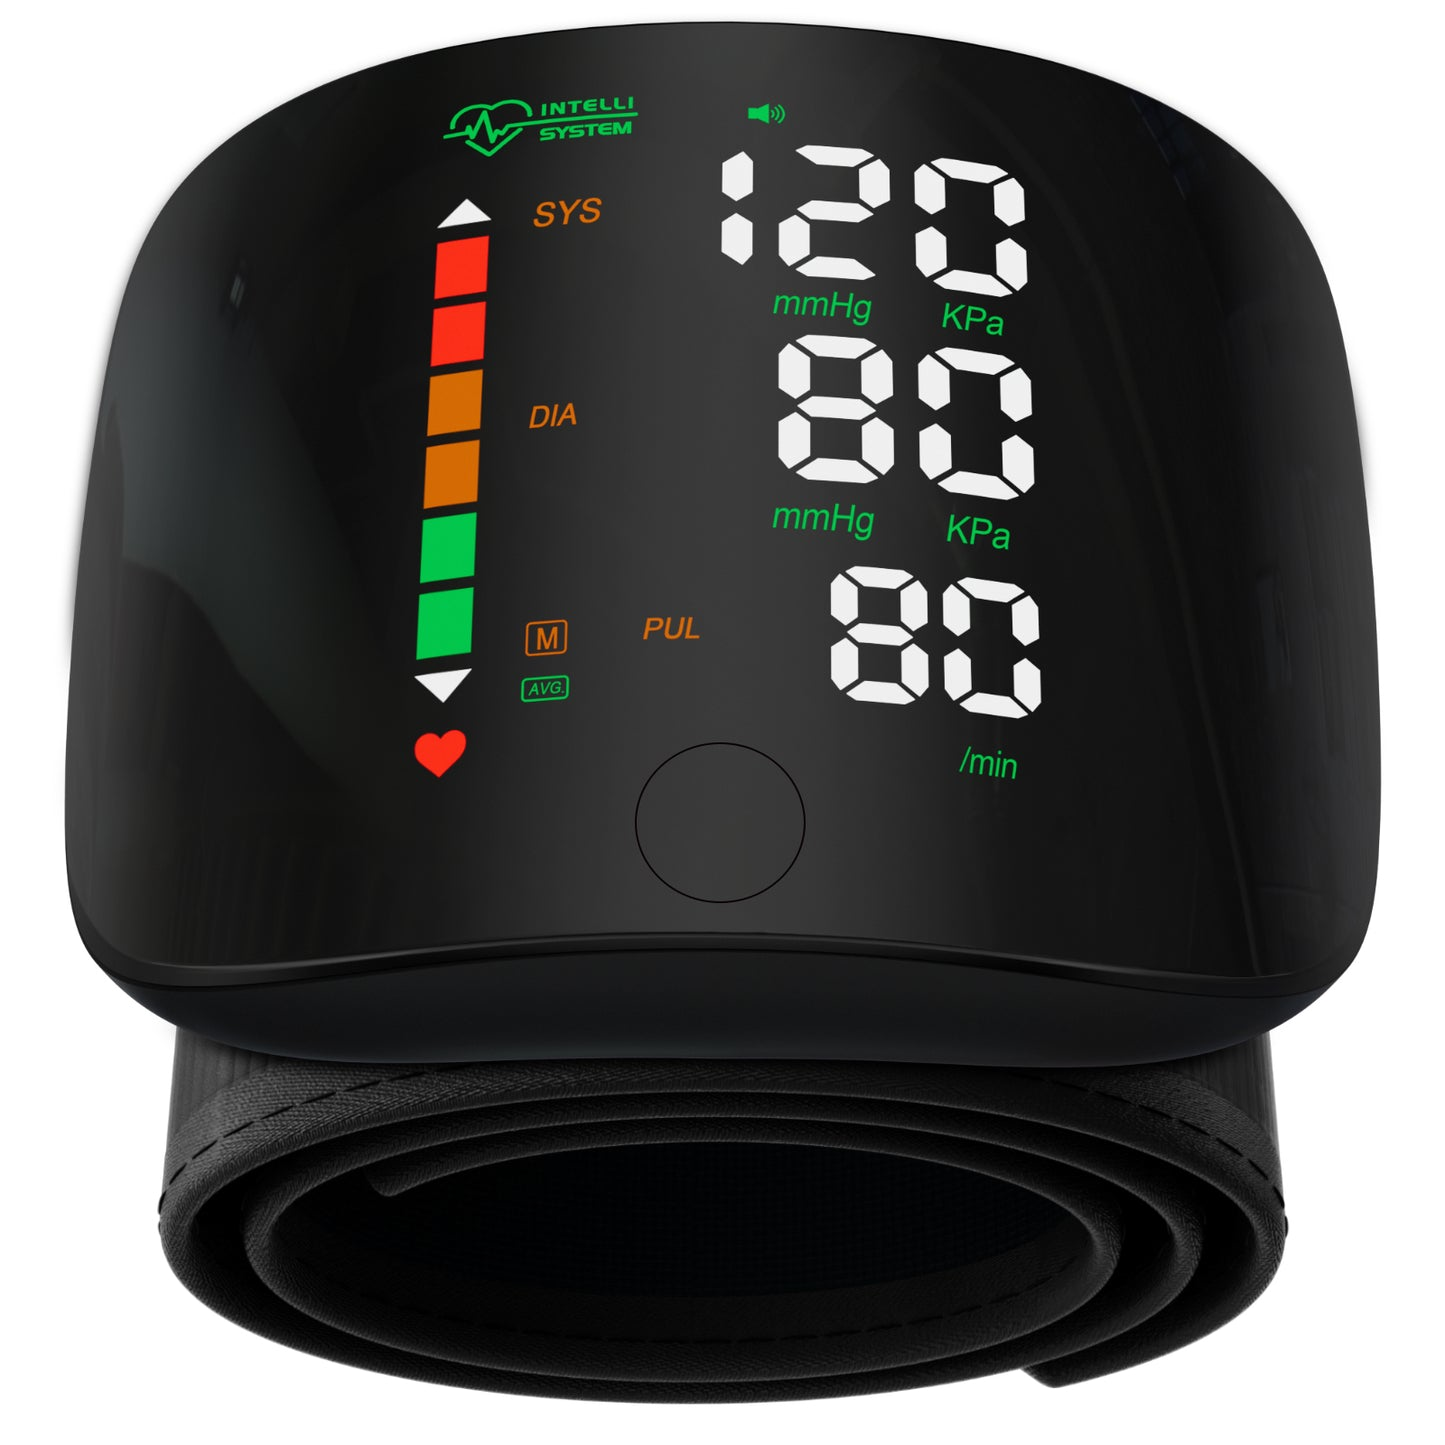
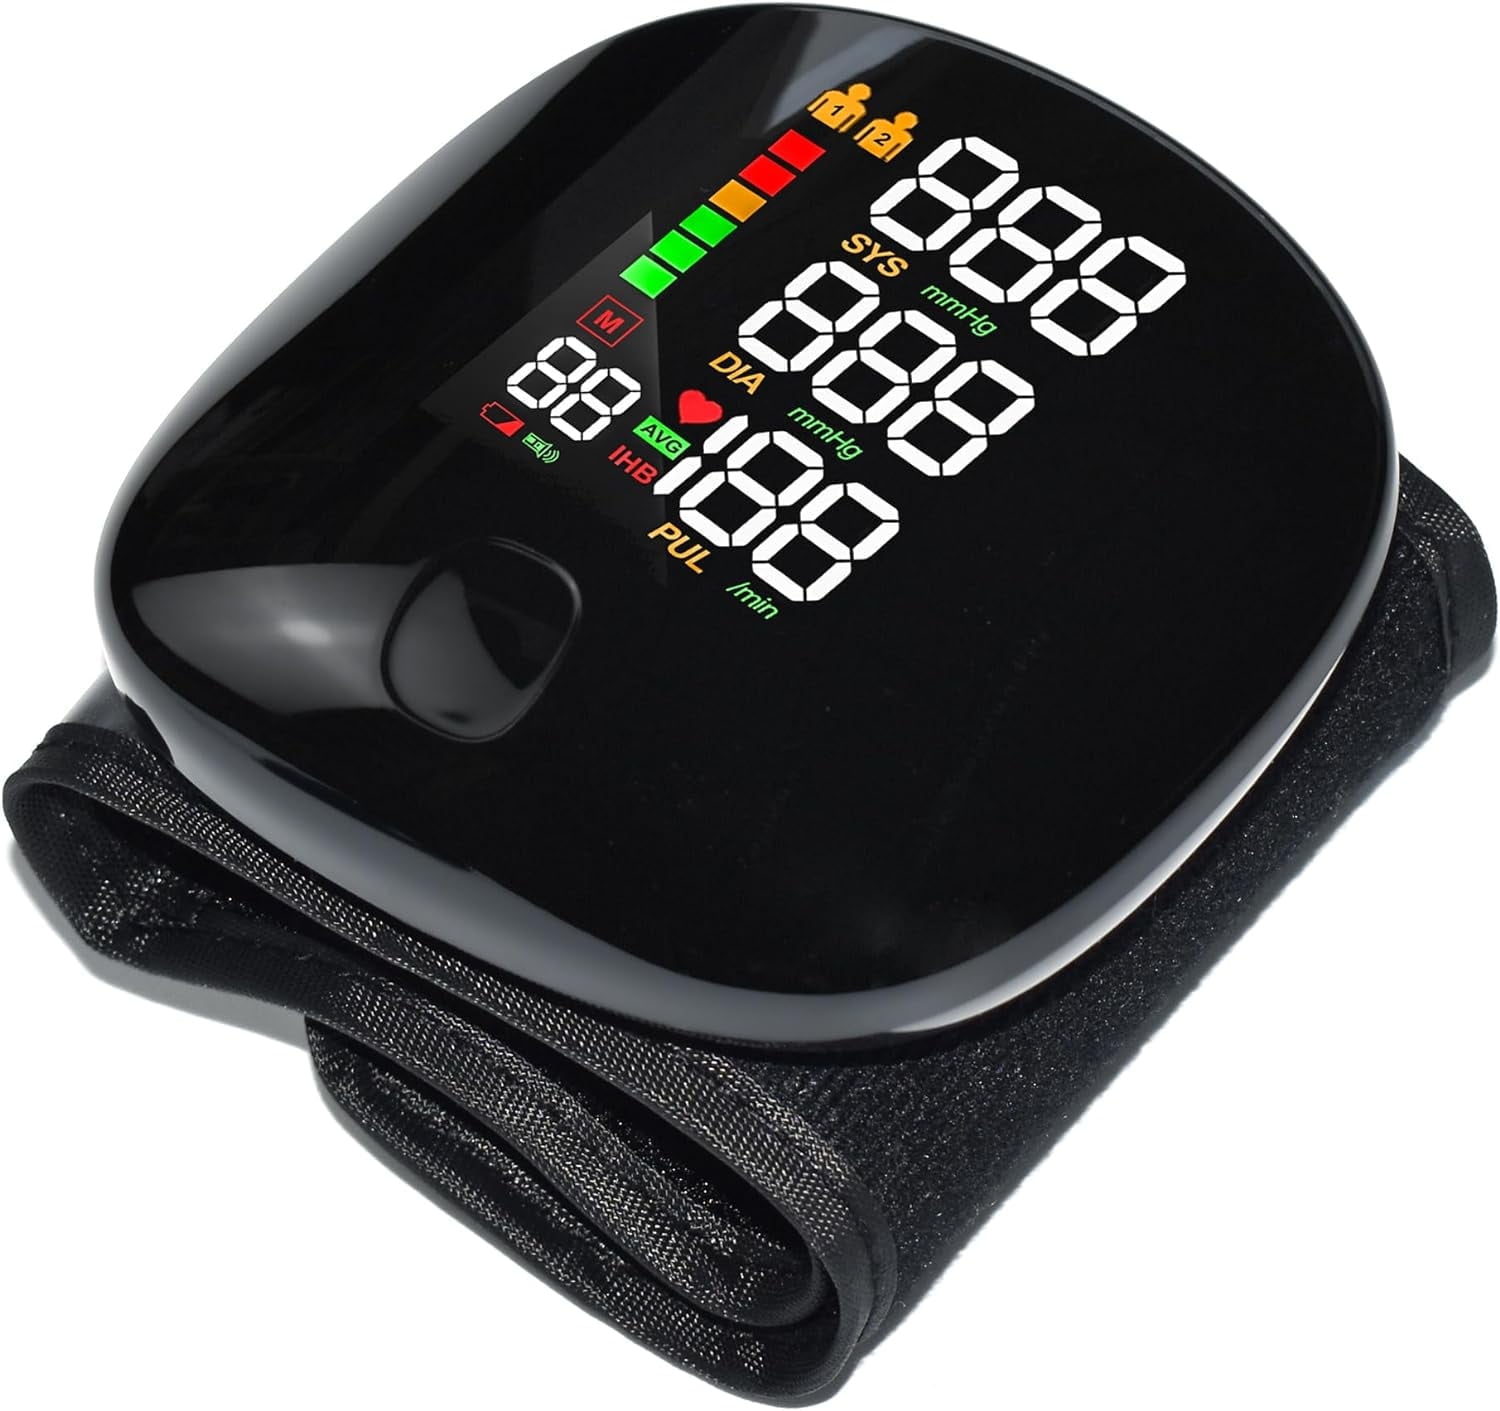
Digital wrist blood pressure monitor showing systolic, diastolic, and pulse readings on LED display ziqingcare
Wrist blood pressure monitors are compact, digital devices that measure blood pressure at the radial artery in your wrist. Unlike traditional upper arm monitors, these devices wrap around your wrist like a watch and provide readings on an integrated display screen. They use oscillometric technology to detect pressure oscillations in the arterial wall and calculate systolic and diastolic values.
The primary advantage of wrist monitors is their portability and ease of use. They’re particularly beneficial for individuals with very large arms who may not have access to properly fitting upper arm cuffs, or those who have had lymph nodes removed from the armpit area. However, proper positioning is crucial – the wrist must be kept at heart level during measurement to ensure accuracy.
When to Use a Wrist Blood Pressure Monitor
Healthcare professionals typically recommend wrist blood pressure monitors in specific situations:
- When upper arm cuffs don’t fit properly due to arm size
- For patients with lymph node removal affecting arm circulation
- When frequent monitoring is needed and portability is important
- For individuals who find arm cuffs uncomfortable or difficult to use
Important Note: Upper arm monitors are generally preferred for their superior accuracy. Consult with your healthcare provider at Smile Pharmacy to determine if a wrist monitor is appropriate for your specific needs.
Essential Pre-Measurement Preparation
Environmental Conditions
Before taking your blood pressure measurement, create the optimal conditions for accurate readings:
- Choose a quiet room free from distractions
- Ensure comfortable room temperature
- Wait at least 30 minutes after eating, exercising, bathing, smoking, or consuming caffeineyoutube
- Empty your bladder before measurement
Physical Preparation
Proper physical preparation significantly impacts reading accuracy:
- Sit quietly for 5-15 minutes before measurement
- Remove any jewelry, watches, or clothing from your wrist
- Sit in a straight-backed chair with back support
- Place both feet flat on the floor with legs uncrossed
- Rest your arm on a flat surface at heart level
Step-by-Step Instructions for Using a Wrist Blood Pressure Machine
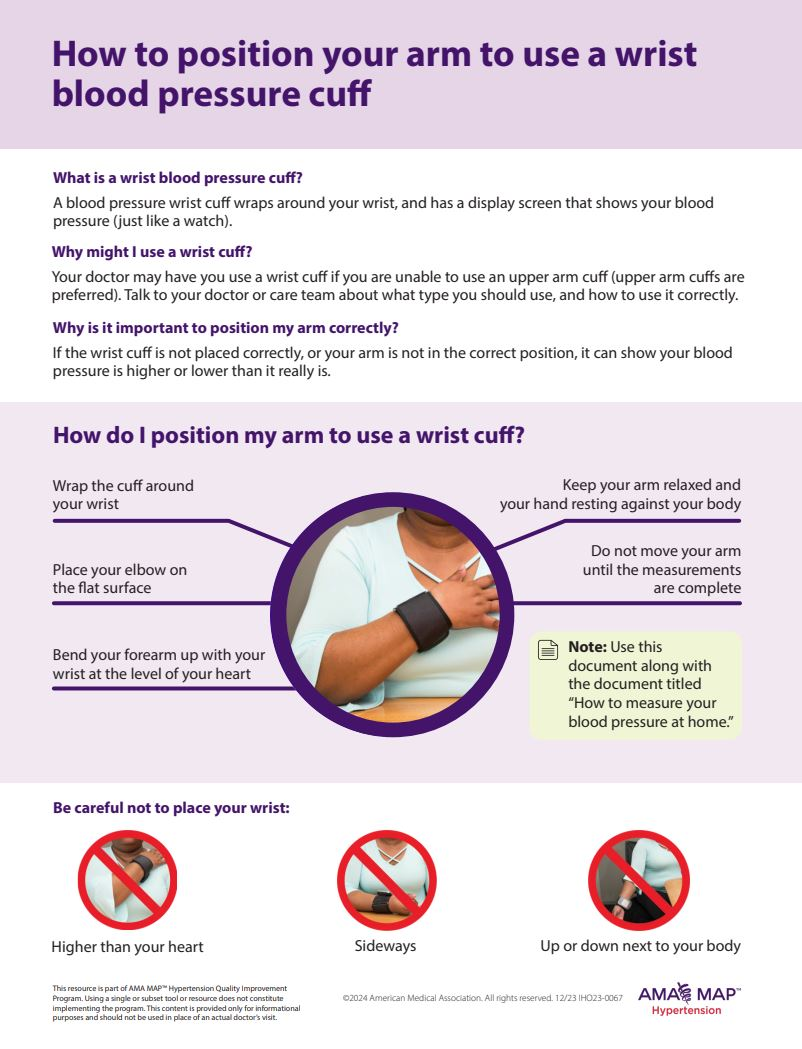
How to correctly position your arm when using a wrist blood pressure cuff to ensure accurate readings targetbp
Step 1: Proper Cuff Application
Positioning the Device:
- Remove all accessories from your wrist (watches, bracelets, etc.)
- Roll up your sleeve to expose bare skin – never place the cuff over clothing
- Position the monitor on your left wrist unless your doctor specifies otherwise
Securing the Cuff:
- Wrap the cuff snugly around your wrist with your palm facing up
- Leave approximately ½ to ¾ inch (1-2 cm) between the cuff and the bottom of your palm
- Ensure the monitor display faces you and aligns with your thumbyoutube
- The cuff should be snug but not tight – you should be able to insert two fingers between the cuff and your wrist
Step 2: Achieving Proper Arm Position
Critical Positioning Requirements:
- Place your elbow on a flat surface (table or desk)
- Bend your forearm upward so your wrist is at heart level
- Keep your arm relaxed with your hand resting against your body
- Ensure the cuff is positioned over the radial artery where you can feel your pulse
Position Verification:
Many modern wrist monitors include a heart zone indicator that helps guide proper positioning. The device will beep or display visual cues when your wrist reaches the correct height relative to your heart.youtube
Step 3: Taking the Measurement
Initiating the Reading:
- Press the START/STOP button to turn on the device
- Remain completely still and quiet during the entire measurement process
- Do not talk, move, or bend your wrist during measurement
- Breathe normally and avoid holding your breath
During Measurement:
- The cuff will automatically inflate to the appropriate pressure
- You’ll see or hear heartbeat indicators on the display
- The device will automatically deflate when the reading is complete
- Wait for the final results to appear on the screen
Step 4: Recording and Interpreting Results
Reading the Display:
Modern wrist monitors display three key measurements:
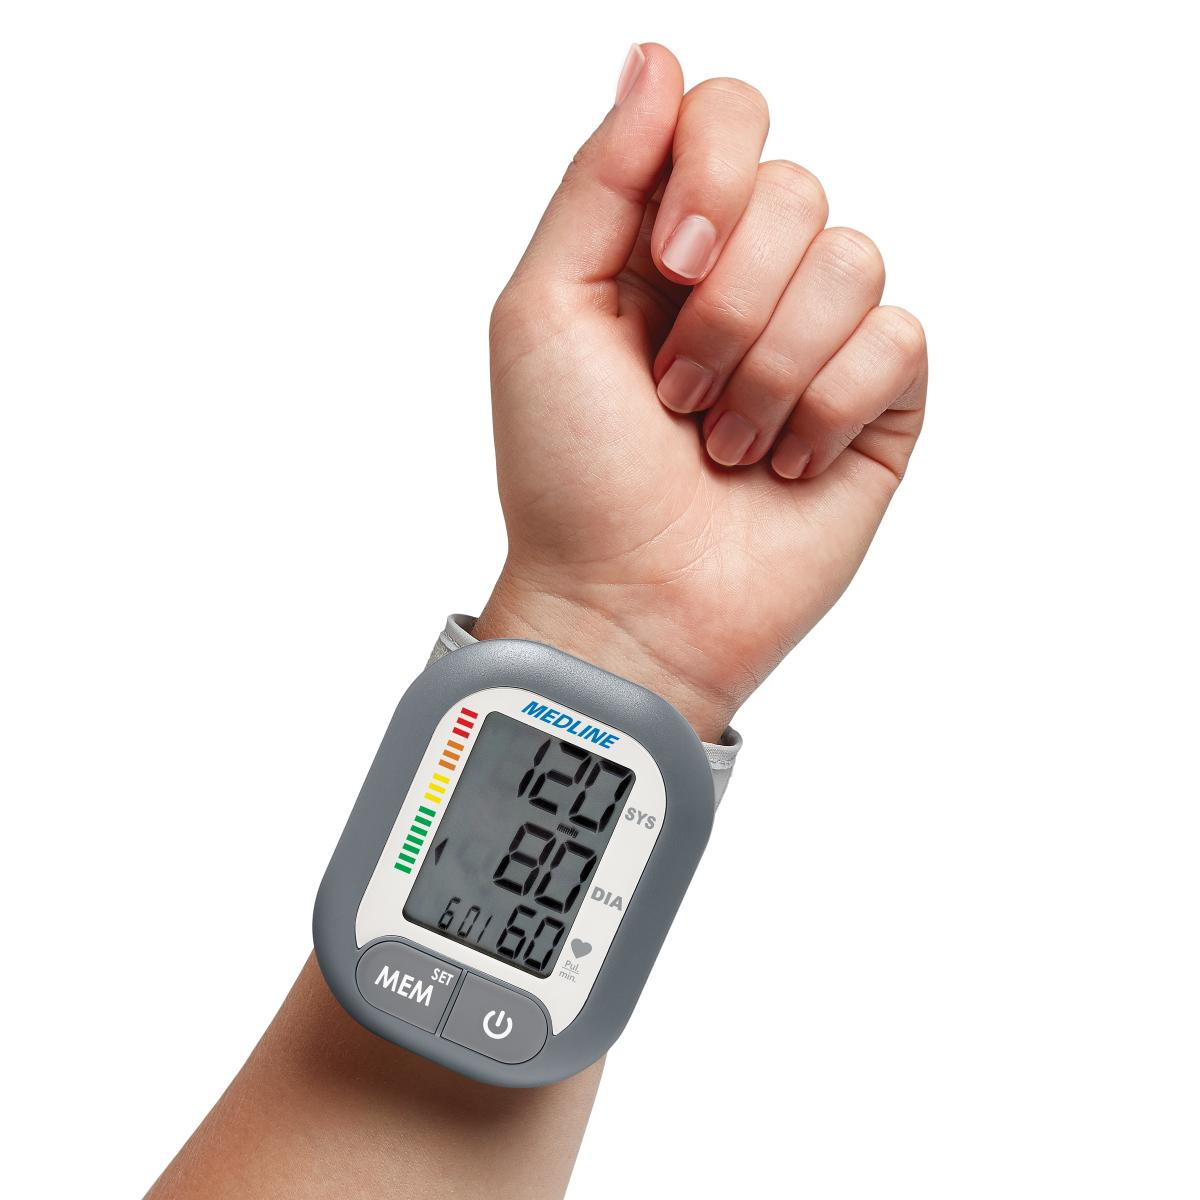
Digital wrist blood pressure monitor displaying blood pressure and pulse readings on a person’s wrist rehabmart
- Systolic pressure (top number) – pressure when heart beats
- Diastolic pressure (bottom number) – pressure when heart rests
- Pulse rate – heartbeats per minute
Proper Recording:
- Take at least two readings, waiting 1-2 minutes between measurements
- Record all readings exactly as displayed – don’t round numbers
- Note the time of day and any relevant circumstances
- Use a logbook or the device’s memory function to track readings over time
Common Mistakes to Avoid
Positioning Errors
The most frequent cause of inaccurate readings is improper wrist positioning:
Avoid These Common Mistakes:
- Placing your wrist higher than your heart level
- Positioning the cuff sideways on your wrist
- Allowing your arm to hang at your side during measurement
- Moving or talking during the measurement process
Technical Errors
Device-Related Issues to Prevent:
- Using the wrong wrist size cuff
- Placing the cuff over clothing
- Taking measurements too frequently without adequate rest periods
- Ignoring error messages or unusual readings
Accuracy Considerations and Limitations
Understanding Accuracy Differences
Research shows that wrist blood pressure monitors can be accurate when used correctly, but they face inherent limitations. Studies indicate that wrist measurements may differ from arm measurements by 16±25 mmHg for systolic and 6±17 mmHg for diastolic pressure in some cases.
Factors Affecting Accuracy:
- Smaller arteries at the wrist compared to the upper arm
- Greater sensitivity to positioning errors
- Individual variations in arterial anatomy
- External factors like temperature and stress
Validation and Calibration
Professional Validation:
- Take your device to your healthcare provider for accuracy comparison
- Have readings compared against a validated upper arm monitor
- Request professional calibration if significant discrepancies exist
For professional blood pressure monitoring and device validation, visit Smile Pharmacy where our trained pharmacists can assist with proper technique and device selection.
Maintenance and Care Guidelines
Digital wrist blood pressure monitor displaying systolic, diastolic, and pulse readings on an LED screen business.walmart
Regular Cleaning
Cleaning the Monitor:
- Use a soft, damp cloth to clean the external surfaces
- Avoid harsh chemicals, abrasive cleaners, or submerging the device in water
- Clean the display screen gently with a dry, soft cloth
Cuff Maintenance:
- Clean the cuff after each use following manufacturer instructions
- Use mild soap and water or disinfectant wipes for routine cleaning
- Allow the cuff to air dry completely before storage
- Never iron the cuff or use bleaching agents
Storage and Battery Care
Proper Storage:
- Store in a cool, dry place away from direct sunlight
- Protect from extreme temperatures and humidity
- Use a protective case when traveling
- Replace batteries every 6-12 months even if not showing depletion signs
- Use high-quality batteries to prevent premature failure
- Consider rechargeable models for frequent use
- Monitor battery indicators and replace promptly when low
Troubleshooting Common Issues
Error Messages and Solutions
Common Error Codes:
- E1/E2: Indicates cuff positioning or inflation issues
- Err: General error usually caused by movement or interference
- Lo/Hi: Unusually low or high readings requiring verification
- Battery symbol: Low battery requiring immediate replacement
Resolution Steps:
- Check cuff positioning and reapply if necessary
- Ensure you remain still during the measurement
- Verify proper arm position at heart level
- Replace batteries if power issues occur
- Restart the device to resolve temporary glitches
Addressing Inconsistent Readings
Troubleshooting Inconsistent Results:
- Take multiple readings and average the results
- Ensure consistent measurement times daily
- Check for proper cuff fit and positioning
- Consider professional device validation
Trust Smile Pharmacy for ongoing support with your blood pressure monitoring needs and medication management.
When to Seek Professional Help
Medical Consultation Indicators
Contact your healthcare provider if you experience:
- Consistently high readings (>140/90 mmHg)
- Sudden significant changes in blood pressure patterns
- Frequent error messages despite correct technique
- Symptoms like dizziness, chest pain, or severe headaches
- Questions about medication adjustments based on home readings
Device Issues Requiring Professional Attention
Professional Service Needed For:
- Calibration discrepancies when compared to office measurements
- Persistent error messages after troubleshooting
- Physical damage to the cuff or monitor
- Readings consistently outside normal ranges
Blood Pressure Categories and Interpretation
Understanding your readings helps you make informed health decisions:
| Category | Systolic (mmHg) | Diastolic (mmHg) |
|---|---|---|
| Normal | Less than 120 | Less than 80 |
| Elevated | 120-129 | Less than 80 |
| High Blood Pressure Stage 1 | 130-139 | 80-89 |
| High Blood Pressure Stage 2 | 140 or higher | 90 or higher |
| Hypertensive Crisis | Higher than 180 | Higher than 120 |
Important: Single abnormal readings aren’t typically cause for alarm, but consistent patterns require medical evaluation.
Best Practices for Long-Term Monitoring
Establishing a Routine
Daily Monitoring Tips:
- Measure at the same times each day (morning and evening recommended)
- Use the same wrist consistently for all measurements
- Create a comfortable, quiet measurement environment
- Record readings immediately to ensure accuracy
Data Management
Effective Record Keeping:
- Maintain a detailed log with dates, times, and readings
- Note any factors that might influence readings (stress, medication changes)
- Share comprehensive records with your healthcare provider
- Use smartphone apps or device memory for convenient tracking
For comprehensive medication optimization services and blood pressure management support, visit Smile Pharmacy – your partner in cardiovascular health.